Pagina's

dinsdag 15 januari 2013

More pages....

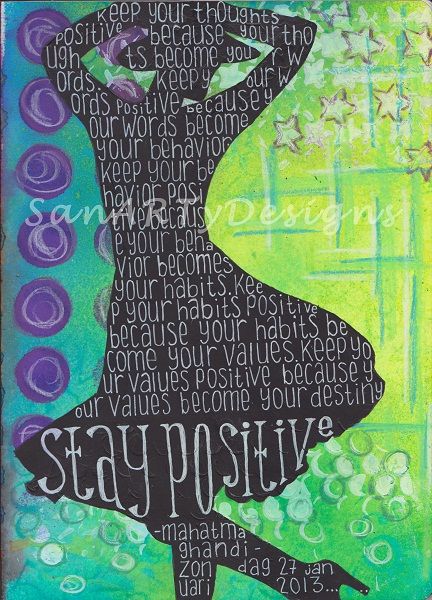
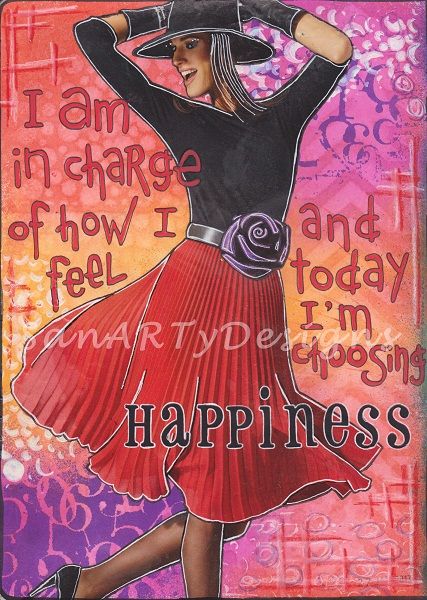
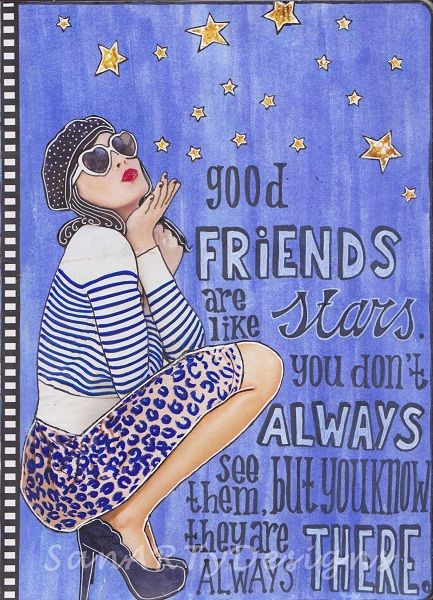
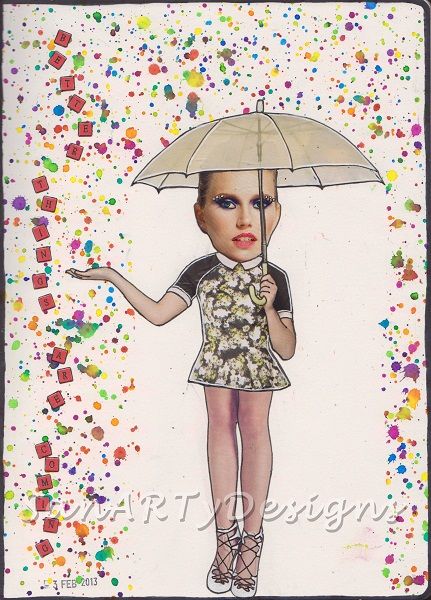
Still going on strong....in every day life and in art journaling.
Here are some more pages:


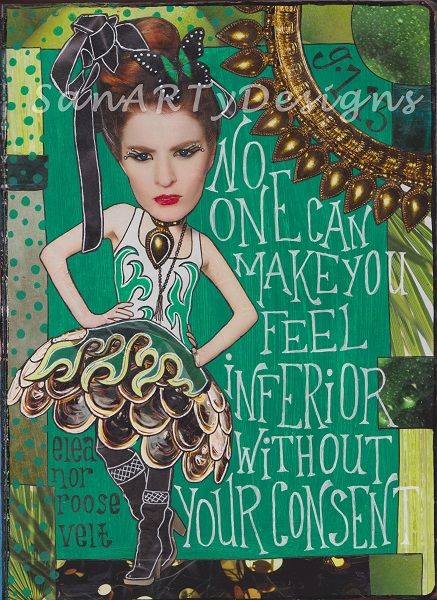
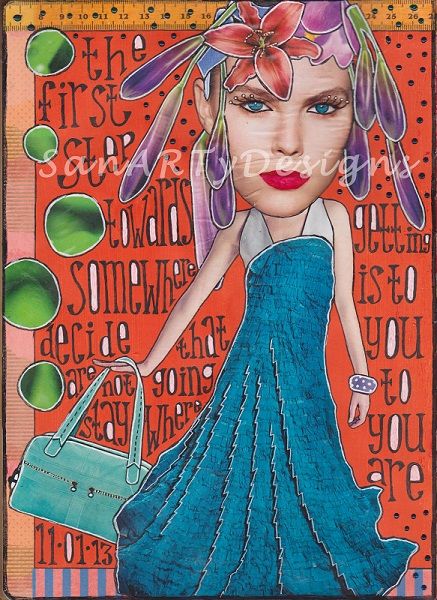
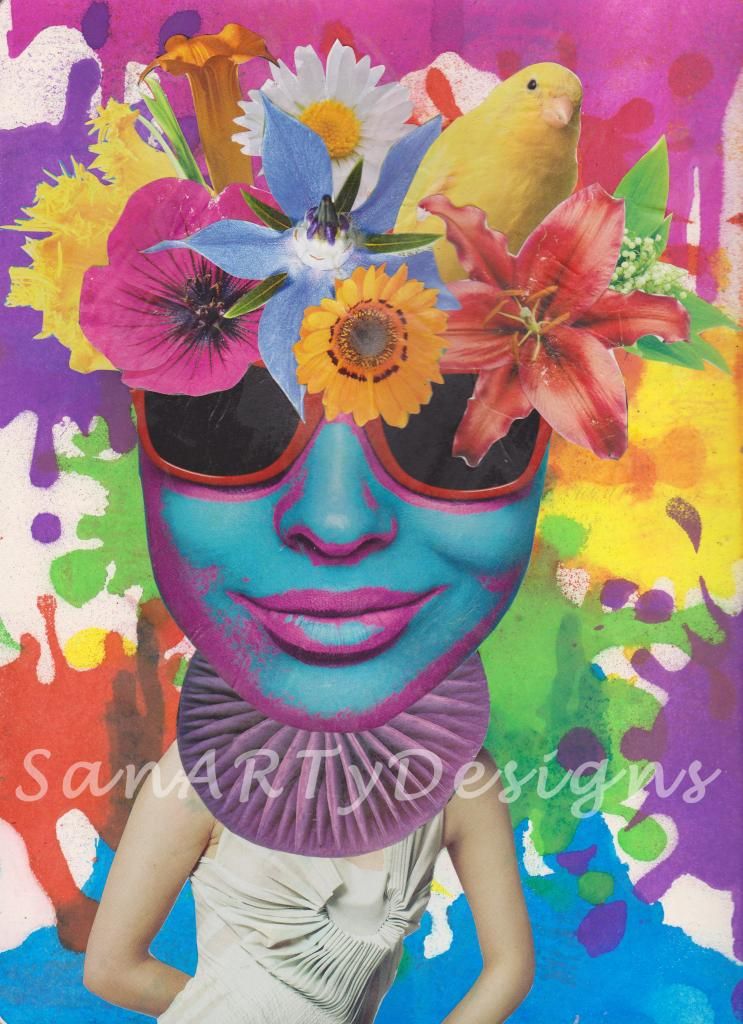
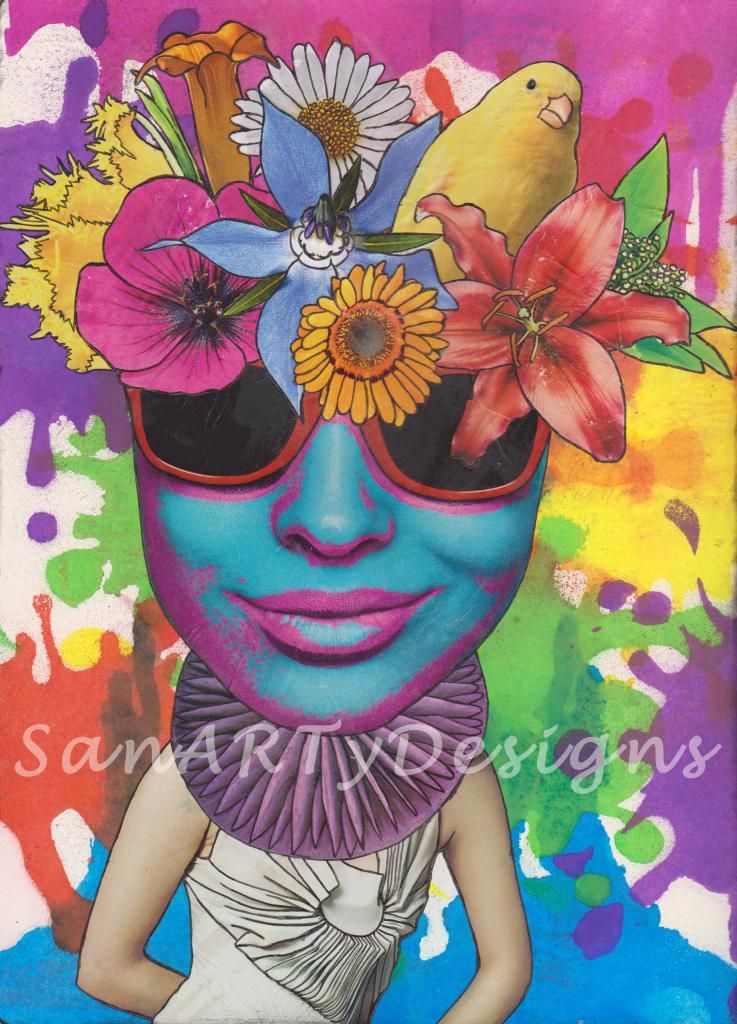
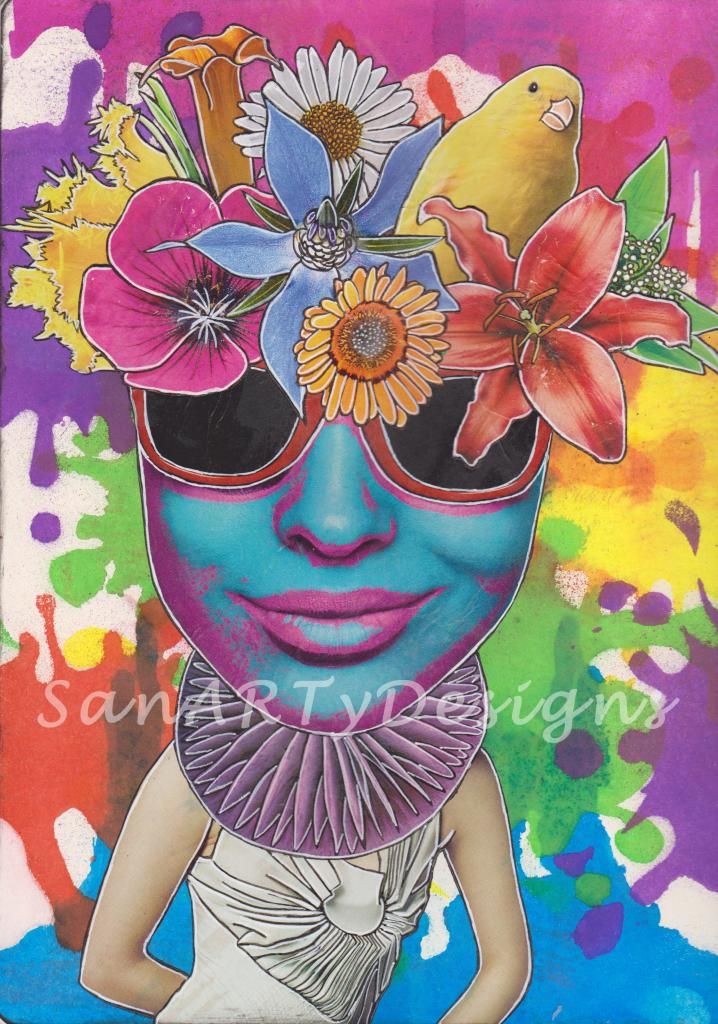
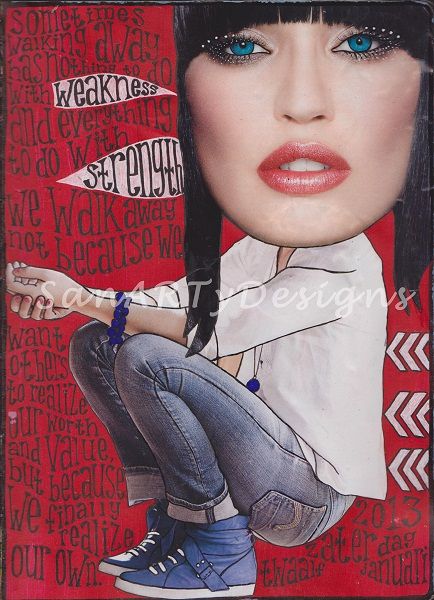
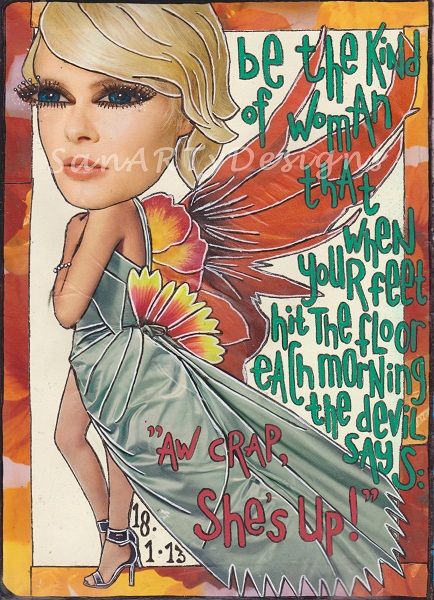
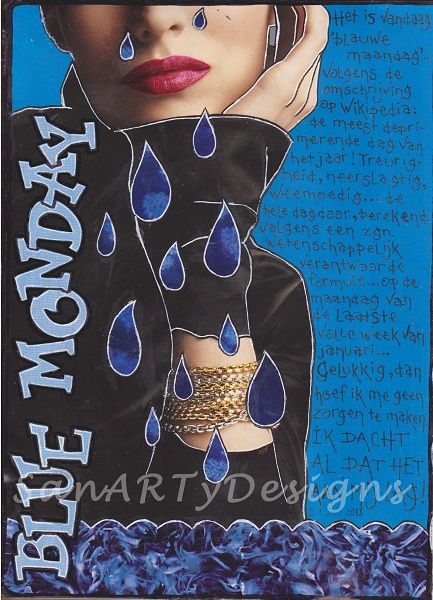
All are A4-sized and made in my Dylusions art journal. Backgrounds are just a layer of acrylic paint. Images are all collages if magazine cutouts.

TFL!
Sandra

dinsdag 8 januari 2013

Happy 2013!

A new year, a new beginning..although every day can be a new beginning, right?
I wish you all a very happy, healthy and creative 2013 !!!
The year of 2012 ended very sad for me unfortunately. My husband decided to leave me and our three kids two days before Christmas....I'm not gonna tell more about this here on my blog because of the privacy of us all, but it's a fact that I've had a very hard time the last few weeks. And more to come...
Still I feel strong and ready to fight my battle with life. There will be good days and bad days, happy moments and sad moments....I will deal with it as it happens. The love for my kids and my dog, having them around each day, will keep me going.
And of course...my love for art journaling!!!
My art has become a creative therapy more than ever. I still have problems with writing down my thoughts directly on a page. I've always loved to use quotes on my pages and lately it seems like there are so much more quotes that speak to me and capture my thoughts and feelings in a few words.
Here are some pages I created lately. Some quick pages, very simple but powerful. Some pages which took me more time but which I love also....
Right now I create only for me, myself and I...and because I know you would love to see some of those pages I will show them on my blog.


TFL!
Sandra

dinsdag 18 december 2012

Creative Christmas Calendar...my project!

Hello you all! If you came here through Riikka's blog...welcome! And of course welcome to my 'allready-followers'!
For Riikka's Creative Christmas Calendar I altered a wooden box in the shape of a book. It was pretty boring the way it was and it really needed some color!
I tried to make pictures during the process so I could show you a step-by-step from start to finish. I often work on my projects and art journal pages late in the evening, so some pictures are made without daylight and there are some flash reflections. Sorry for that...
Step 1: This is the box at the beginning:

Step 2: I covered the wooden parts with a layer of gesso. I sprayed two colors of Dylusions sprayinks to color the canvas with the word 'Paris' on it.

Step 3: I collaged some bookpapers on top. I always use ModPodge for this.

Step 4: I painted the background with acrylic paint and added some circles and stripes in a different colors. I stamped some gesso through a stencil and I stamped a layer with my backgroundstamps (written text and music sheet) and Stazon ink.

I did step 1 till 4 also with the backside of the box.

Step 5: I created an image out of magazine cutouts. (As you read more on my blog you will see that I love to do this! I have a big collection of cutouts and I love to puzzle and create new images with these.)

Step 6: I collaged the image on top of my painted background ( with ModPodge).

Step 7: I doodled the image with black and white markers...

...and added some journaling. I love to use quotes...

Step 8: The backside! I collaged another image with my magazine cutouts and glued it on top.

Step 9: More doodling and journaling...

Step 10: I covered the inside of the box with scrapbooking paper. (I used a sheet of Prima Marketing here, made of watercolor paper (I'm sorry, I can't remember the name of this collection.)
and I painted the sides of the box in rainbow colors.
I also made some white dots on the canvas to cover up the word 'Paris'.
And here is the finished bookbox:

The box is now 'sitting pretty' on my desk, filled with my collection of washi tapes...
Of course, the techniques I described here can be used for any object or simply in your art journal....which I do most of the times...If you would like to see more, please take a closer look at my blog or watch my video's to see more about the proces.
Thanks for visiting my blog and I wish you all a merry Christmas and may 2013 be the best year ever, with lots of creative happiness!

Sandra
dinsdag 27 november 2012

I'm taking a break!

I'm taking a blog break....till the end of December...
Just because I think I need it...
My head is full of things I wánt to do and things I háve to do...
I'm still feeling creative. I've started crocheting this week...I like it very much!
Right now, I feel like curling up on the couch with my crochetwork or a good book...
Watch some TV or just do nothing...

I will be back for one day this year....sharing my participation in Riikka's Christmas Calendar!
She has a great line up of participants for her calendar and I feel so honoured to be part of this.
So don't miss it!

Take good care of yourself!!
See you in 2013.

Sandra


vrijdag 16 november 2012

Paint your dreams (+video!)

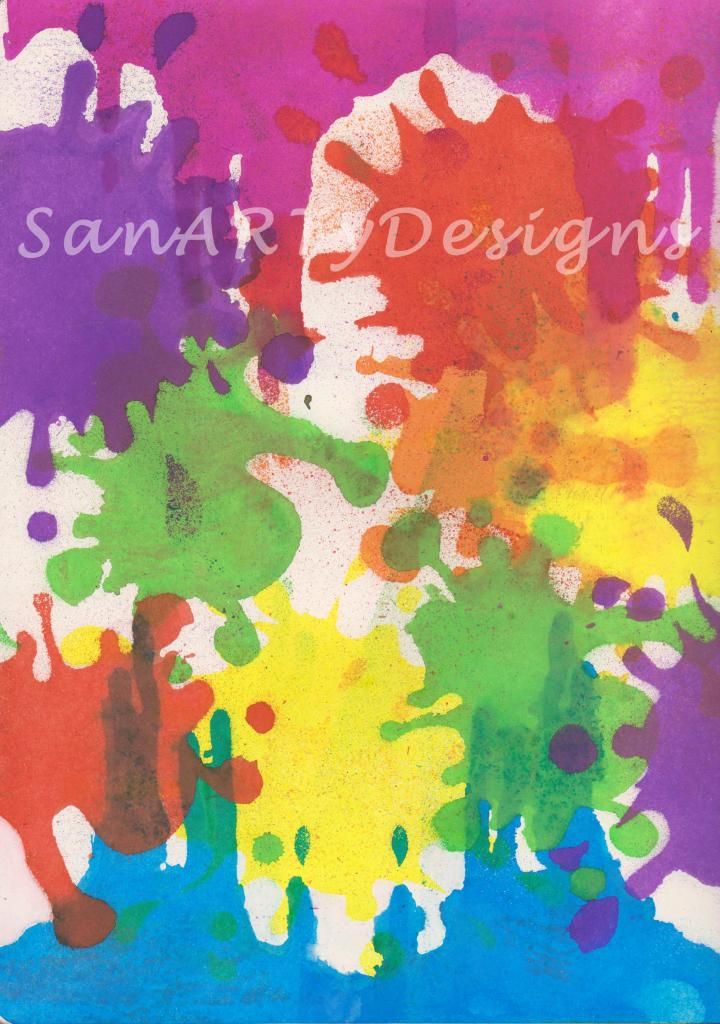
Last week I was completely inspired by Julie Balzer's blogpost for Art Journal Every Day. She wrote about cutting your own stencils. Not that I hadn't heard about this before, the idea wasn't new to me, but her blogpost just came at the right moment. I was a bit bored by the stencils I had and there was simply no budget to buy some new ones. So I started googling for some nice patterns. I made two stencils, one with several paintsplashes and one with a spiderweb. I simply printed the images on some printerpaper, traced these on a plastic sheet and cut the images. (Ok, the cutting needed a lot of patience...)

I made a video in which you see me creating this background with my new paintsplash stencil and some Dylusions sprayinks:


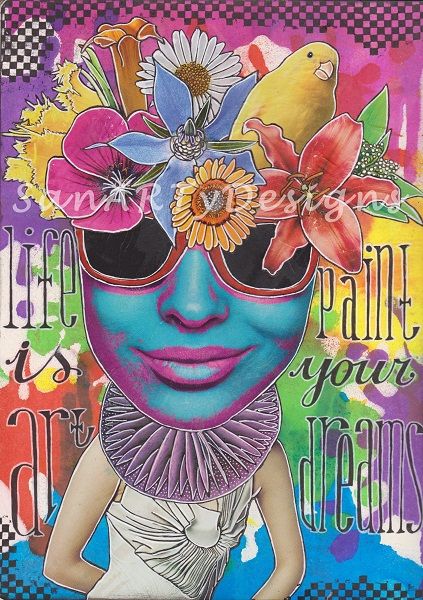
Of course, I added a collage to my background!
This is the final page:

And here is the video:

In case you are wondering, after seeing the video, how the different stages look (I mean the steps after collage, after the black marker, the white marker and the journaling.) I will show the the pictures here too:
The collage glued on the background:


The page after doodling with only a black marker (Faber Castell Pitt Pen small point):

The page after using a white opaque marker:

And again, the finished page with the journaling and some checkerboard squares added:

Of course, there are so many possibilities with my paintsplash stencil. I'm sure you will be seeing more of it in the near future!

TFL!
Sandra